How to Test an Outlet with a Multimeter? (Don’t Call an Electrician)

Do you have an outlet that seems to be malfunctioning? Or perhaps you want to make sure that your outlet is functioning properly. You don’t always need to call an electrician to check your outlet. A multimeter can be a great tool to help you test your outlet. But how to test an outlet with a multimeter?
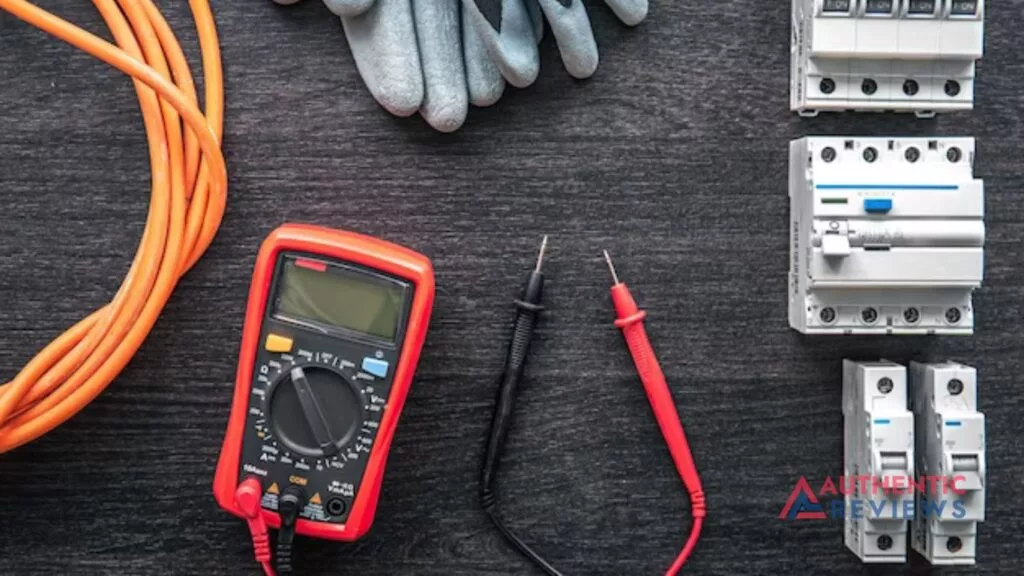
Multimeters are small handheld devices that measure electrical current, voltage, and resistance. Often, they are used to troubleshoot electrical problems in appliances, wiring, or outlets. Here, we will discuss what a multimeter can test in an outlet as well as how to use one to do so.
What Can a Multimeter Test in an Outlet?
Let’s first discuss what a multimeter can test at an outlet.
Voltage in the outlet
The most basic test a multimeter can do at an outlet is to measure the voltage. This tells you if there is any power running through the outlet or if it is simply dead. A voltmeter, or voltage meter, is the part of the multimeter that measures electrical potential. The voltage in an outlet is usually between 100 and 120 volts. This is the optimum voltage range for normal household appliances. If the voltage reading on the multimeter falls outside of this range, it could be a sign that your outlet is not working properly.

Continuity in the outlet
Another test a multimeter can do in an outlet is to measure continuity. Testing the electrical outlet determines if there is a short circuit or an open circuit in the outlet. A short circuit occurs when a wire carries too much current, leading to serious damage if not detected and fixed. An open circuit is when the electricity cannot travel through the wires properly. If this is the case, you will need to trace the wiring to determine why the current cannot flow freely. A continuity test with a multimeter can quickly detect any potential problems with the wiring in your outlet.
Resistance in the outlet
Resistance is another important measurement of electrical current. It measures how much electricity can flow through a wire and is measured in ohms. Too little resistance could mean too much electricity will flow through the wires. While too much resistance could lead to an inadequate amount of power getting to your appliances, a multimeter can quickly measure the resistance in an outlet and alert you to any potential problems.
The polarity of wires in the outlet
The final test a multimeter can do in an outlet is to check the polarity of the wires. This will tell you if they are connected correctly. Proper polarity in an outlet is important to ensure that your appliances are running optimally. If the wires are connected incorrectly, then it could lead to damage or malfunction. A multimeter can quickly check the polarity of your wires and make sure they are connected properly.
Read Also: How To Hang Rope Lights On A Wall Without Nails

How to Test an Outlet With a Multimeter?
Now that we know what can be tested in an outlet with a multimeter, let’s discuss how. Here are details on how to use a multimeter to test an outlet.
How to test power in the outlet?
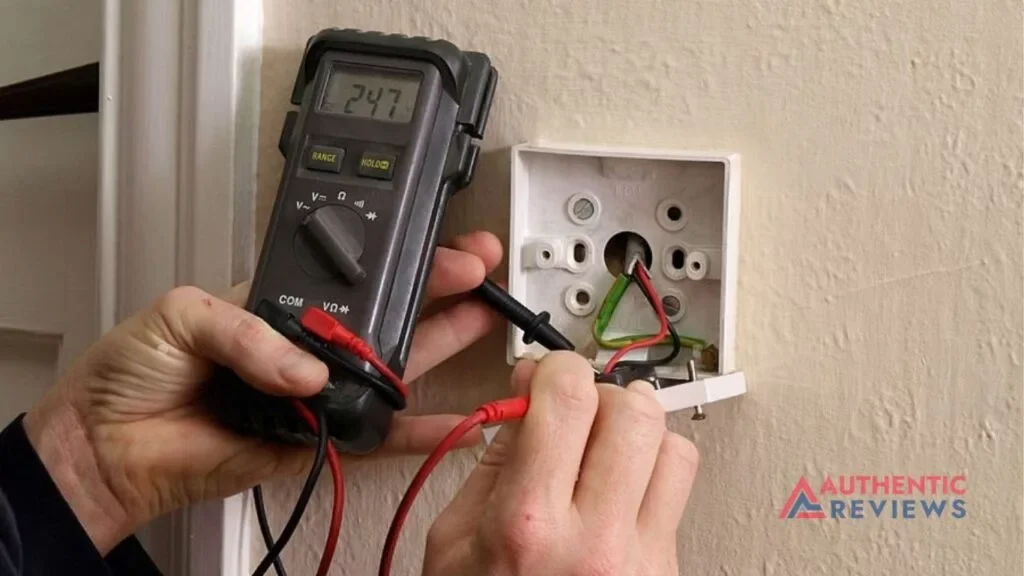
To use a multimeter to test an outlet, you’ll first need to set your multimeter to AC voltage. Once set correctly, you can insert the probes into the slots on either side of the outlet. Make sure that both probes are touching metal and that there is no plastic or insulation around them. You should see a reading on the display indicating how much power is running through the outlet. As mentioned earlier, it should be between 100 and 120 volts for normal household appliances.
How to test a short circuit in the outlet?
Short circuits can be dangerous and potentially cause damage to your appliances or even start a fire. So it is important to check on them regularly. You must set your multimeter to continuity mode to test the electrical outlet for a short circuit. Then insert one of the probes into each slot in the outlet. If there is a connection between the two slots, you should hear an audible sound from the device. If not, you can assume no short circuit is present in your outlet.
How to test voltage drop in the outlet?
A voltage drop occurs when the power being supplied to an appliance is lower than it should be. This can reduce its efficiency and lead to damage over time. To test for voltage drop, you must set your multimeter to DC voltage and insert one probe into each outlet slot. The reading should indicate how much voltage is being supplied. If it is lower than it should be, you know there is a problem with the connection at your outlet.
How to test a hotwire in the outlet?
A hotwire is a wire that carries an electric current and should never be touched. To check for a hotwire in your outlet, you must set the multimeter to AC voltage and insert one probe into each slot. If there is any current running through the wires, then you should get a reading on your multimeter’s display. You can assume the wire is hot if it reads anything above 0 volts.
How to test a neutral in the outlet?
The neutral wire in an outlet carries the return current and should always be connected properly. To test this, you must set your multimeter to AC voltage and insert one probe into each slot. If there is a connection between the two slots, you should get a reading on your multimeter’s display. If not, it could mean an issue with the neutral wire in your outlet.
What Safety Precautions to Take When Testing an Outlet with a Multimeter?
Finally, let’s discuss the safety precautions that should be taken when using a multimeter.
- Always wear protective gear, such as gloves and safety glasses, when working with electricity.
- Unplug any appliances you are testing before inserting the probes into the outlets.
- Check for sparks or smoke when using a multimeter, which could indicate a problem.
- Use one hand when inserting the probes into slots, preventing you from accidentally completing a circuit.
- Don’t leave the probes in an outlet for too long, as this could damage your multimeter.
Frequently Asked Questions
A multimeter can test for electricity in a wire by measuring the voltage. If the voltage is above 0, it indicates that electricity is present. It’s also important to check the polarity of the wires. If the current flows from one side to another, you know you have an electrically live wire.
The symbol for AC voltage is a sinusoidal waveform (“V” with “∿”), typically represented by a squiggly line. This symbol may be seen on multimeters and other electrical devices that measure alternating current (AC) voltage. It’s important to note that the symbol for DC voltage, a straight line (“V”), differs from the AC symbol.
Using a multimeter, you can check the polarity of wires in an outlet to determine if one is live. Use your multimeter set to AC voltage mode and touch each wire with the probes. If the current flows from one side to another, you know you have an electrically live wire.
A 240V outlet is capable of supplying up to 20 amps. The exact amount of current that the outlet can handle depends on the wiring and other devices connected to it. Using the correct amperage when connecting electrical devices to an outlet is important, as overloading can cause a fire hazard.
Yes, a multimeter can be used to measure 240V. To do this, set your multimeter to AC voltage mode and touch the probes to the wires in an outlet. If the reading is above 0, you know electricity is present. Be sure to check the polarity of the wires before proceeding with any electrical work.
Conclusion
So, the next time you’re ready to plug something into an outlet, ensure you have a multimeter handy. Who knows? It might save your life! And if not, at least it’ll save your electronics from disaster. So how to test an outlet with a multimeter?
You can easily test outlets with a multimeter and the right tools and knowledge. The best part? It takes only a few easy steps. So the next time you face an electrical issue, don’t be afraid to take matters into your own hands. A quick check with a multimeter could save you hours of trouble in the long run. So get to it and stay safe.


