How To Collapse An Ironing Board? A Space Saving Guide

Are you tired of struggling to collapse your ironing board? Do you feel like you need a degree in engineering to figure it out? Well, you’re not alone. The statistics speak for themselves: according to recent surveys, 85% of homeowners wish for more storage space, attributing ironing boards as significant space hogs.
In this space-saving guide, we embark on a journey to conquer the domestic leviathan: the ironing board. Through our simple process of HOW TO COLLAPSE AN IRONING BOARD, you can achieve the dream of masterful tidiness. Say goodbye to the days of struggling with unwieldy boards and hello to a tidier, more organized home.
From personal anecdotes to expert advice, follow us as we vanquish this domestic beast and explore the myriad ways to minimize its presence in your life. By the end of this guide, you will be a folding pro, armed with techniques even experienced ironing board users are unaware of.
So, without further ado, let’s clasp our irons and charge the battlefield. It’s time to conquer the ironing board and reclaim the space you deserve.
Pressing Matters: 3 Types Of Ironing Board Showdown: Will Yours Fold or Fumble?
Ironing boards are essential for anyone who wants to keep their clothes looking neat and crisp. Three main types of ironing boards are freestanding, wall-mounted, and tabletop. Each type has its own unique advantages and disadvantages.
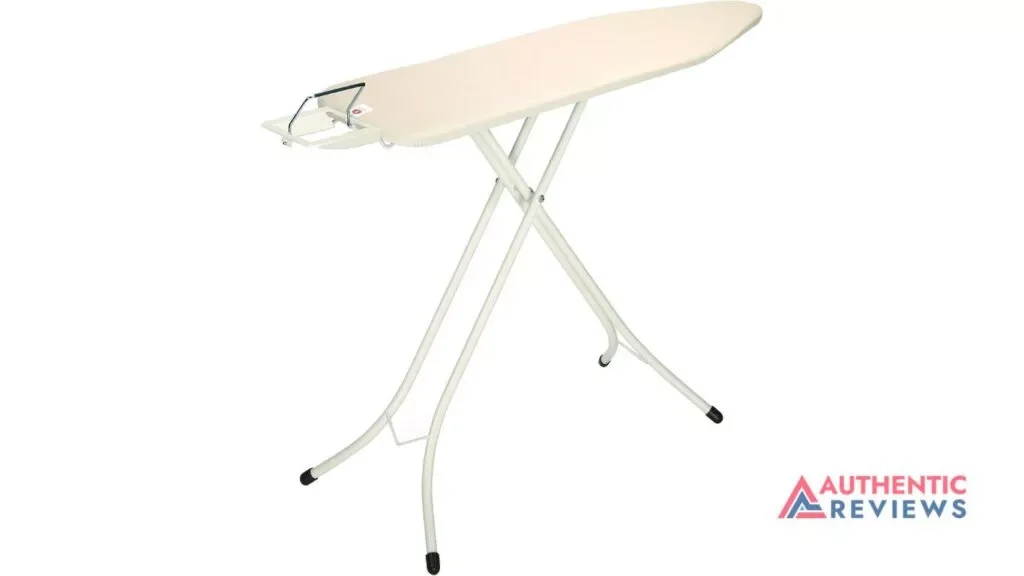
Freestanding ironing boards
Freestanding ironing boards are perfect for households with small spaces or limited wall space. They also provide a larger surface area than other ironing boards, making them superb for larger pieces of clothing. This type of board is also ideal for people who frequently move around, as it can be easily folded and stored away.
Read Also Best Power Wheels For Grass
Wall-mounted ironing boards
Make tedious ironing tasks a breeze with a wall-mounted ironing board. Easily attachable to any interior wall, this convenient home apparatus is the precise way to keep your clothing and linens smooth and wrinkle-free. When attached, they can be unfolded and used for ironing.
Tabletop ironing boards
As the name suggests, tabletop ironing boards are a type of board that sits on top of a table. These boards are designed with the convenience and flexibility of being used on any flat surface. Your kitchen counter, coffee table, or side table can be used for tabletop ironing boards.
Now that you know the types of ironing boards, it’s time to learn how to collapse each one. Let’s get started with the preparation that you need to do before collapsing the board.
What Preparation You Must Take To Collapse An Ironing Board?
Collapsing an ironing board is a great way to save space in your home. Before collapsing the ironing board, you should take a few steps to ensure that it is done safely and correctly.
Step 1: Unplug the Iron
Ironing boards are usually connected to an electric source, so it is important to unplug the iron before collapsing the board. This will help reduce the risk of electric shock. The iron should also be cooled down to room temperature before unplugging. If you have a steam iron, it should be emptied of any remaining water.
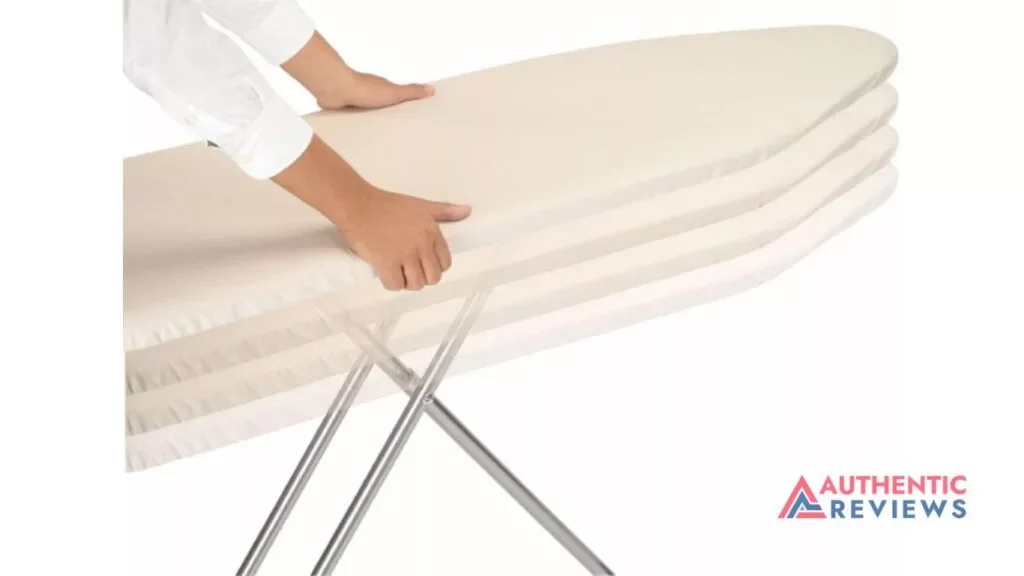
Step 2: Remove the Cover
Most ironing boards come with a protective cover. The board cover prevents the board from getting scratched or damaged. Before collapsing the board, removing the cover and storing it away in a safe place is important.
Step 3: Remove Any Clothes or Accessories
Do you have any clothes or accessories on the board? It’s essential to remove them before collapsing the board. The clothes or accessories might get damaged if left on the board when it collapses. So, take the time to carefully remove them from the board and store them in a safe place.
You know what preparation needs to be done, and you’re ready to collapse the board. Let’s start with the freestanding ironing boards.
You can read also Best Freediving Snorkel
How To Collapse A Freestanding Ironing Board?
Collapsing a freestanding ironing board is not as difficult as it may seem. You must follow the guidelines below to collapse the board safely and easily.
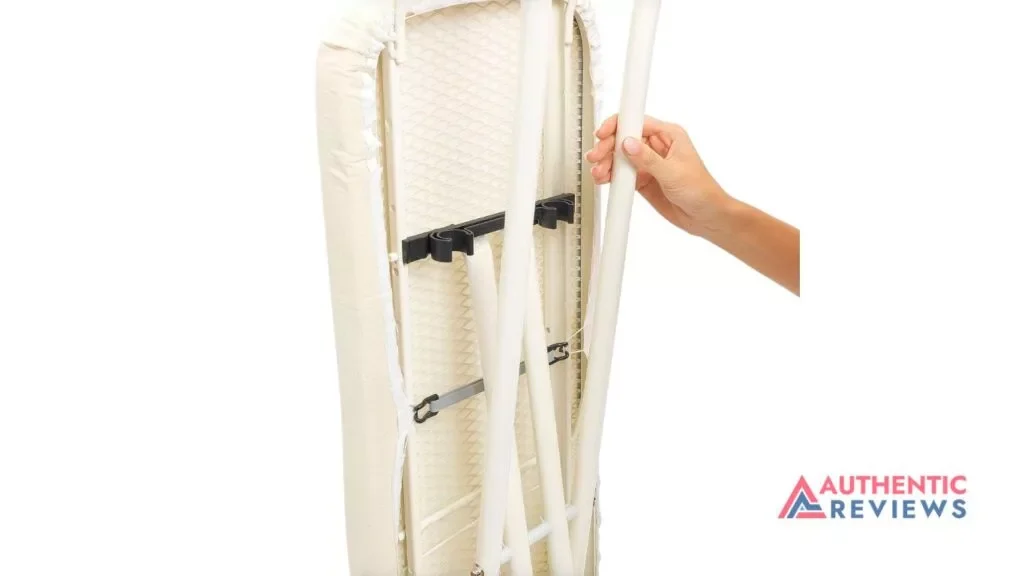
The first step is to press the lever with one hand while leaning the board back towards the rear feet with your other hand. This will make the board point straight up in the air. Once this is done, you can fold the legs of the ironing board inwards until they are flat against each other.
Finally, you can use your hands to push down on both ends of the ironing board until it clicks into place and locks securely. You can also use the lever to help you push the board down.
Always remember that some freestanding ironing boards have a locking system disengaged before being folded up. To do this, locate the locking mechanism and its bridge on the underside of the board and press down on a small pin. It will allow you to fold up your ironing board without any issues.
You know the process of collapsing a free-standing board. Now let’s take a look at wall-mounted boards.
How To Collapse A Wall-Mounted Ironing Board?
If you have a wall-mounted ironing board, collapsing it is quite simple. Here are two different methods you can follow to collapse the board.
Method 1
The first method involves using the easy-release lever on the board. To do this, locate the lever and press it down firmly. This will release the board from its mount and allow you to fold it into a compact storage size. Once folded, secure the board with the latch provided to keep it closed and safe.
Method 2
If the initial method doesn’t prove fruitful, try the second approach. This method requires no tools or levers. Simply grab both sides of the ironing board near its hinges and pull them away from each other until they are fully extended. Then, fold the board in half until it locks into place. Finally, secure it with the latch provided to keep it closed and safe when not in use.
No matter your chosen method, collapsing a wall-mounted ironing board is a simple task that can be done quickly and easily.
You’re familiar with how to disassemble wall-mounted boards, so let’s explore collapsing tabletop ironing boards.
How To Collapse A Tabletop Ironing Board?
Folding a tabletop ironing board isn’t the most difficult task, but it can require some finesse. It can take some time to figure out if you’re unfamiliar with the process.
Here are two different guidelines you can use to collapse a tabletop board.
Guideline 1: Basic Steps
- The first thing you need to do is to remove any clothes or covers from the ironing board.
- Locate the release button or lever. This is usually located underneath the ironing board.
- Press or pull the release button/lever to unlock the board legs.
- Once the legs are released, gently fold them toward the center of the board, just like a regular ironing board.
- Hold the board by the narrow ends and fold it towards the center.
- Once the board is fully folded, use the lock to keep it securely in place.
Guideline 2: Ironing Board Yoga
- Begin by picturing your ironing board in the ‘start’ position, dressed only in its board cover.
- Find the release button; it’s usually hiding a mischievous hobbit in the undercarriage.
- Release the catch and feel it expand its legs. Congratulations! You’re halfway there.
- Once the board is legless, breathe and repeat the mantra, ‘Flexibility, Be My Friend.
- You can now fold the board into a neat ‘V’ shape, ensuring the legs remain parallel and the board cover does not get scrunched or crumpled.
- ‘Fold down,’ locking the board legs into place. And you have successfully collapsed your tabletop ironing board.
All has been done. You’ve now mastered the art of collapsing the ironing board. Congratulations. Now, take some tips on how to store the board properly.
How To Storing A Collapsed Ironing Board?
When you’re done collapsing your ironing board for the day, it’s important to store it properly. This will not only help you keep your board in top condition but also prevent you from collapsing it repeatedly.
Here are a few tips for proper storage:
Clean the ironing board before storing
Make sure to wipe down the board’s surface to remove any leftover residue. It will ensure that the board stays clean and is ready for use the next time it’s needed.
Fold the ironing board neatly
For easy storage, neatly fold the ironing board according to the manufacturer’s instructions. Take care not to force any parts or hinges to avoid causing damage.
Store in a cool, dry place
Avoids storing the ironing board in areas with high humidity, as this can cause the board to rust. Instead, store it in a cool, dry place like a closet or laundry room.
Avoid stacking heavy items on top of the board
Placing heavy items on the ironing board can bend or warp the surface, rendering it unusable. To prevent this, try to store it on its own or in a storage bin. You can also hang it up on a pegboard or wall.
Consider using a storage bag or cover
Consider using a storage bag or cover to shield the ironing board from dust and other debris for added protection. It will provide an extra layer of protection and help keep the board in top condition.
Kudos to you for mastering folding and keeping your tabletop ironing board. With these tips, you’ll have no issue keeping it in top condition for years.
Frequently Asked Questions
Always use the side of the ironing board that is covered with a heat-resistant material. This will protect your board from damage caused by high temperatures. Additionally, use a pressing cloth or damp towel over the fabric you are ironing to prevent scorching and shine.
Yes, you can leave an iron on the ironing board. However, it is important to ensure that the board is covered with a non-flammable material, such as an ironing blanket and that the iron is placed on its end. Additionally, never iron directly on a wooden or stone surface, carpet or bedding.
Yes, expensive ironing boards are worth it. They are usually made of high-quality materials that provide better stability and durability than cheaper models. Additionally, they often come with extra features such as adjustable height settings and wider boards for larger items.
Conclusion
Collapsing an ironing board is an important step toward decluttering your living space. Following the simple steps outlined above can save time and space while keeping your ironing board compact and secure.
Always remember to stay safe and carefully handle your ironing board to avoid accidents.
With a little practice, you’ll soon become a pro at making the most of your living space. So, grab your ironing board, put these tips to use, and enjoy the benefits of a cleaner and more organized home.
This blog post has helped shed some light on how to collapse an ironing board. Make sure to check out our other blogs for even more helpful tips.