How to Prep Garage Floor for Epoxy Paint? ( DIY Guide for a Perfect Finish)
The garages in most homes can be a mess, full of dirt, grime, and all sorts of clutter. But it doesn’t have to stay that way. With a little preparation and effort, you can transform your garage floor into something special with epoxy paint. Here’s how to prep the garage floor for epoxy paint.
We will take you through the process, from surface preparation to applying multiple coats of paint. So grab your broom and dustpan, put on some safety goggles, and let’s get started.
What is Epoxy Paint for Garage Floors?
Before you can apply the epoxy paint, let’s first look at why you would want to paint your garage floor in the first place.
Epoxy paint is a heavy-duty coating that creates a durable barrier on concrete surfaces. This barrier prevents staining and damage from chemicals, oils, and gasoline.
Epoxy paint also provides a higher level of protection against scratches and other wear and tear. It is also resistant to heat and humidity, making it a great choice for garage floors.
The benefits of epoxy paint don’t end there. The coating makes the surface extremely easy to clean and maintain, meaning you won’t have to worry about dust or grime settling in. In addition, the glossy finish of this product adds a beautiful and modern look to any garage floor.
Can You Paint Your Garage Floor Yourself?
Now that you know the benefits of epoxy paint, let’s look at what you’ll need to get started.
Fortunately, epoxy paint is relatively easy to apply. You don’t need to be an expert in painting or home improvement to get the job done. You can easily paint your garage floor with basic tools and supplies.
Benefits of DIY garage floor epoxy paint
Painting your garage floor yourself can save you time and money. You won’t have to hire a professional or wait for someone to come out and do the job for you. DIY epoxy kits for garages are usually much more affordable than having a professional do the job.
The process of painting your garage floor can also be surprisingly satisfying. Watching an old, dirty garage transform into a modern and inviting space is incredibly rewarding. With some creativity, you can create a unique design that matches your style and taste.
What you’ll need for the job
You will need a few basic tools and supplies to get started. Here is a list of the items you will need:
- Broom and dustpan
- Vacuum cleaner
- Safety goggles
- Working Gloves
- Painters Tape
- Paint roller
- Stiff Brus
- Primer
- Degreaser
- Etching solution
- Epoxy paint
How to Prep Garage Floor for Epoxy Paint?
Now that you have the necessary tools and materials, it’s time to start. Let’s take a look at how to prepare your garage floor for epoxy paint.
Cleaning and repairing the floor
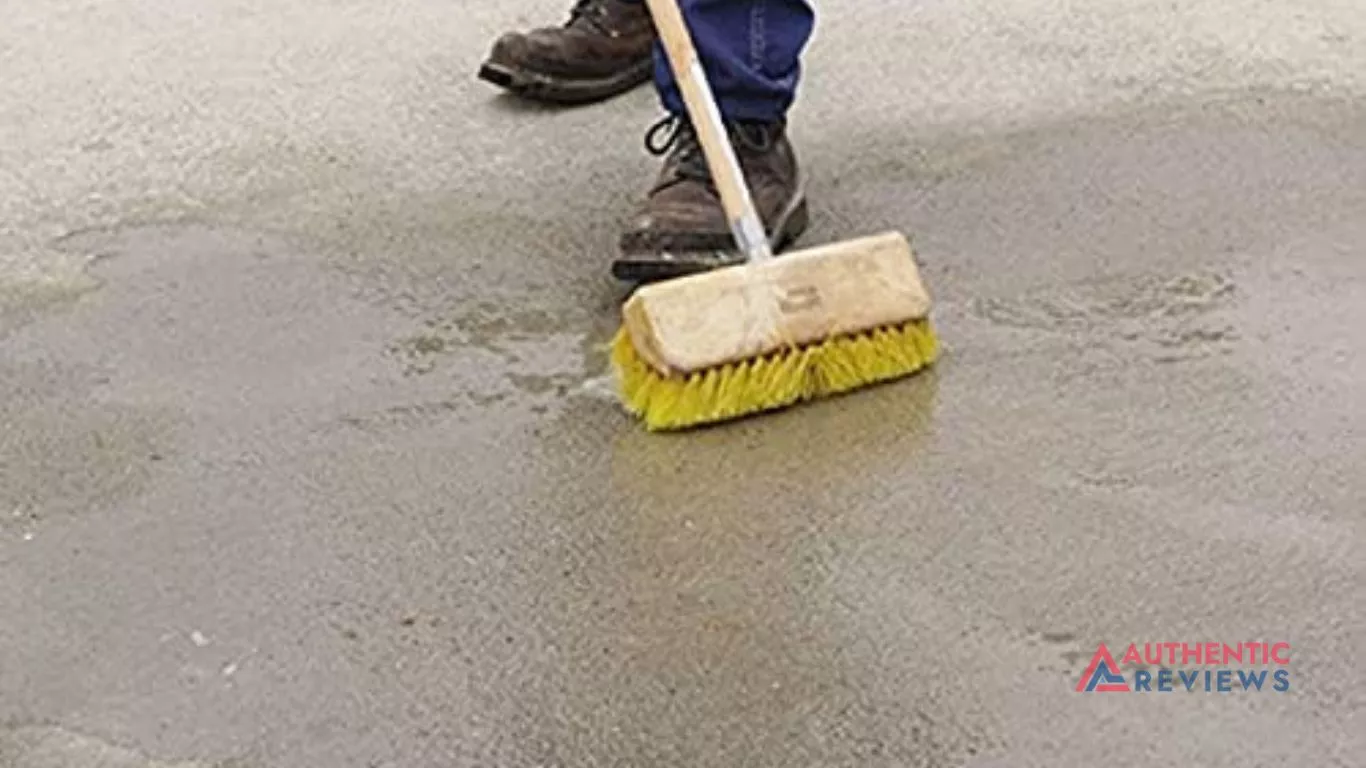
The first step is to clean and repair your garage floor. Start by sweeping the entire surface with a broom and dustpan to remove dirt, debris, and other loose material. Then use a vacuum cleaner or wet mop to pick up any particles that you may have missed.
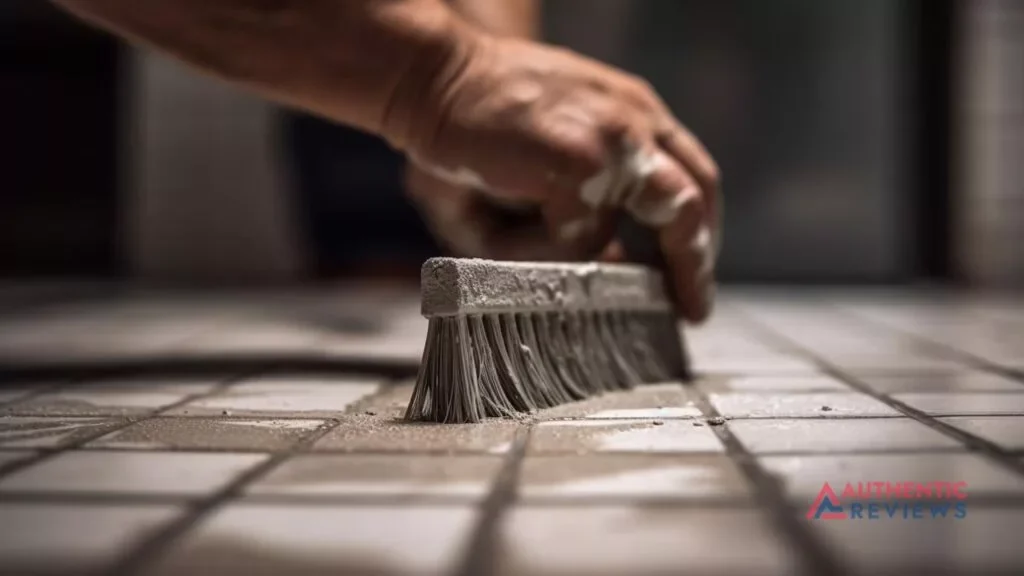
Make sure to inspect the floor for any cracks or damage. If you do find any, make sure to fill them in with a concrete patch or caulk. Once this is done, inspect the floor again to ensure it is level and even.
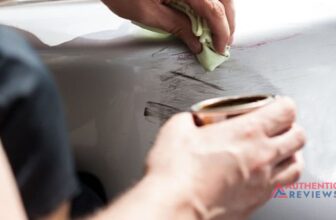
Sanding the floor
The next step is sanding. An orbital sander is the best tool for this job. Use medium- or fine-grit sandpaper and run it across the floor in long, straight strokes. A manual sander is also a good alternative if you don’t have access to an orbital sander. When sanding, make sure to get into all of the nooks and crannies. This will help create a smooth surface for the epoxy paint.
Make sure to wear protective gloves and goggles while sanding the floor. Once the floor is sanded, use a damp cloth or broom to remove any dust particles that may have settled on the surface. Then, let the floor dry completely before moving on to the next step.
Read Also: How To Remove Stone Sealer
Prepping with a degreaser
Now it’s time to prep the floor with a degreaser. This will help get rid of any grease, oil, and dirt that may have built up on the garage floor over time. Use a good-quality degreasing solution and follow the instructions carefully. Once you’ve finished degreasing, use a damp cloth or broom to remove any residue. Then let the floor dry before moving on.
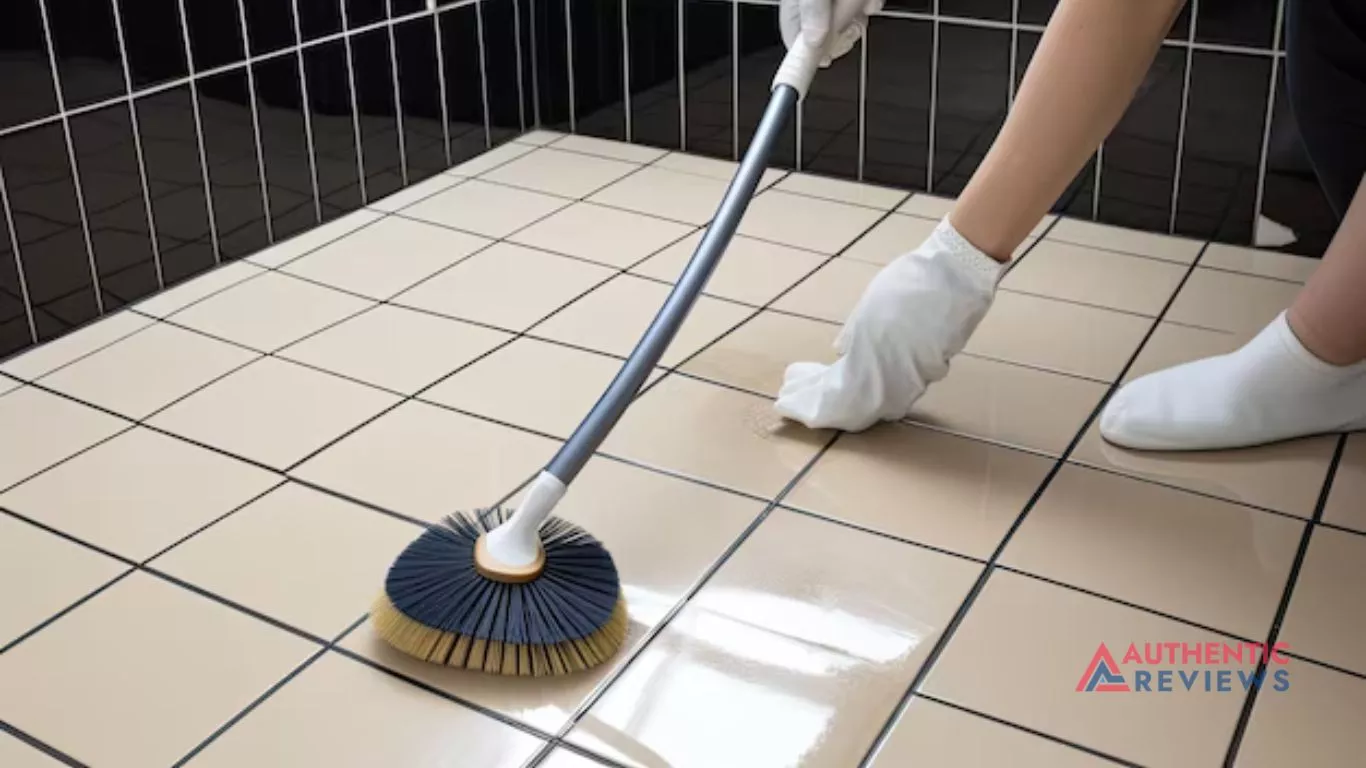
Applying an etching solution
The next step is to apply an etching solution to the surface. This will help create a stronger bond between the epoxy paint and the concrete flooring. You can apply this solution with a paintbrush or roller. When applying the solution, cover the entire surface and avoid missing any spots.
Once you’ve applied the etching solution, let it sit for about 10 minutes before neutralizing it with a mixture of water and baking soda. Again, follow the instructions on the etching solution package carefully. Once you’ve neutralized the solution, rinse it off with a garden hose and let the floor dry completely.
Applying the Epoxy Paint to Garage Floors
Now that your garage floor is ready, it’s time to apply the epoxy paint.
Choosing the right primer
First, you will need to choose the right primer. Make sure to select one that is specifically designed for concrete surfaces. This will help create a strong bond between the floor and the epoxy paint. You should consider the color of your epoxy paint when selecting a primer, as this will help create an even and consistent finish.
Preparing the primer for application
Mix the primer according to the instructions on the package. You may need to thin out the mixture slightly if it is too thick. Once you’ve mixed it, pour it into a paint roller tray and use a paint roller to apply the primer in long, straight strokes. Make sure to cover the entire surface with an even layer of primer.
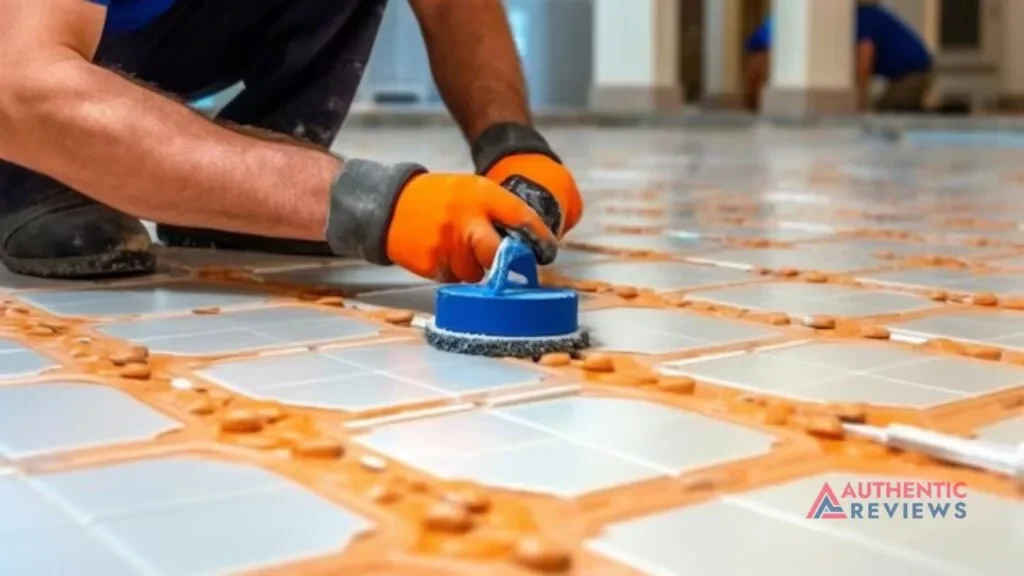
Applying a sealant to the floor
Next, you’ll need to apply a sealant to the floor. This will help protect the epoxy paint from damage. To apply the sealant, you can either use a brush or roller. A brush is best for small areas, while a roller is better for larger surfaces.
Apply the sealant evenly and allow it to dry thoroughly before continuing. Don’t be surprised if you require multiple coats to achieve the desired level of protection. You won’t want water seeping through and ruining all your hard work.
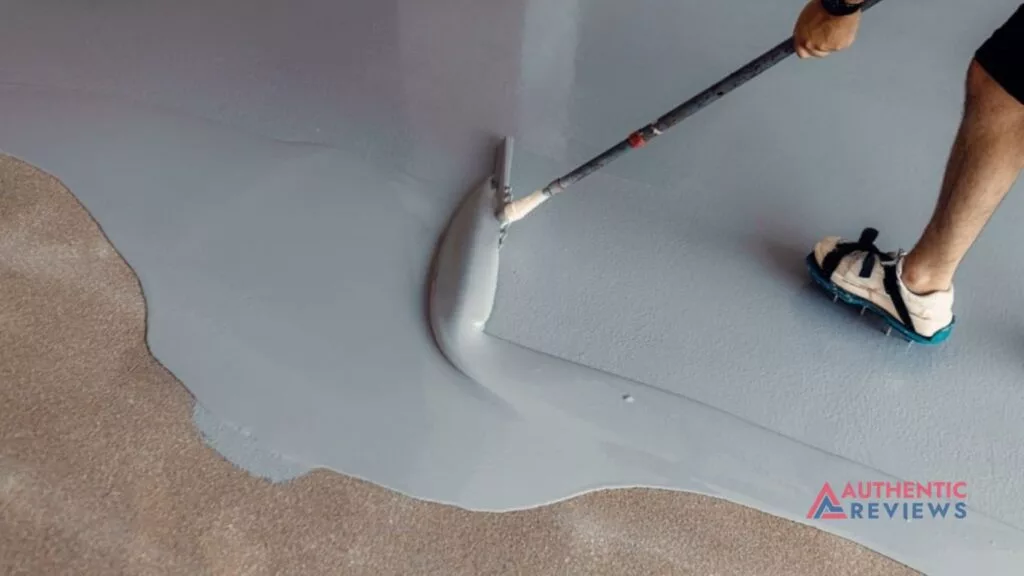
Rolling on multiple coats of epoxy paint
Now it’s time to roll on the epoxy paint. Pour a generous amount of paint into your roller tray. Dip the roller into the paint and start rolling it onto the floor in a back-and-forth motion. When applying the paint, be sure to cover the entire surface and apply multiple thin coats of paint instead of one thick coat. This will ensure a uniform finish and better protection against wear and tear.
Make sure you allow each coat of epoxy to dry completely before applying the next coat. Otherwise, you risk creating a sticky mess. Once all the coats are applied and dry, your garage floor should look as good as new.
Tips for DIY Garage Floor Epoxy Paint?
When painting your garage floor, follow these tips for a successful DIY project.
- Wear protective gear like goggles and a dust mask to protect yourself from fumes and debris.
- Use the right materials for each process step (such as sealant and primer) to ensure the best results.
- Apply thin coats of epoxy paint instead of one thick coat.
- Wait at least 24 hours after your last coat before walking on the floor or moving back in furniture.
- Clean up any spills or splatters as soon as they happen.
- Follow all directions closely, and take your time with each step for a long-lasting finish.
Frequently Asked Questions
Yes, you do need to use a concrete primer before applying epoxy floor paint. This helps the epoxy adhere properly and ensures your garage lasts for years. Primers are usually easy to apply, so don’t neglect this important step.
There are a variety of different primers that you can use for epoxy paints. Depending on the condition of your garage floor, you may want to use a concrete primer, an etching primer, or a bonding primer. Just be sure to choose one specifically designed for use with epoxy paint.
The number of coats you should apply depends on the condition of your garage floor. Generally, two coats are enough to provide a nice finish and protect your floor. However, if there are any issues, such as cracks or chips, you may consider applying three or more coats for added protection.
Yes, you need to seal your garage floor before applying epoxy paint. A sealant helps to protect the floor and make sure that the epoxy adheres properly. Make sure you choose a sealant specifically designed for use with epoxy paint, as this will ensure that your garage will look great and last for years.
The ideal thickness for epoxy on a garage floor is around 10–15 mils. This will provide the best coverage and help ensure your garage looks great and lasts for years. Make sure to measure the thickness of each coat as you apply it to ensure you’re applying enough epoxy for optimal protection.
Conclusion
So there you have it—the step-by-step guide on how to prep garage floors for epoxy paint. If you’re brave and up for a challenge, why not try it yourself? With the right tools, materials, and patience, you can make your garage look amazing with a fresh coat of epoxy paint.
You could end up with a professional-looking finish without paying for the labor costs of hiring someone else. Just remember to wear all safety gear and follow directions on products.


[…] Read Also How to Prep Garage Floor for Epoxy Paint? […]